Getting Started
Install
Copy JV-Neonyte-v1.0.hdalc into your Houdini 22 otls folder. On Windows that is C:\Users\<you>\Documents\houdini22.0\otls\. Then Refresh Asset Libraries, or restart Houdini. The node is in the Tab menu under JV.
Neonyte needs Houdini 22.0 or newer, Indie or Apprentice - it is an .hdalc file.
Updating from an older version
Delete the previous version's file from the otls folder first. Two files of the same asset in that folder collide.
Your first street
Drop a Neonyte node and wire your building or street geometry into its first input.
Press Place Sign in Viewport and click a wall. A green placeholder follows the cursor and sits flat on the surface. T cycles the sign type. Click to drop it. Place a few signs this way.
Press Give me the Signs. Every placeholder comes back as a finished sign.
Press Give me the Signs again for a different street. Seed is the number the street is built from. Type a value into it to get a street back.
Set your scale
Everything in Neonyte is in metres. If your scene is modelled in different units, set Real-World Scale before you build: 1 for metres, 100 for centimetres, 3.28 for feet.
Placing signs
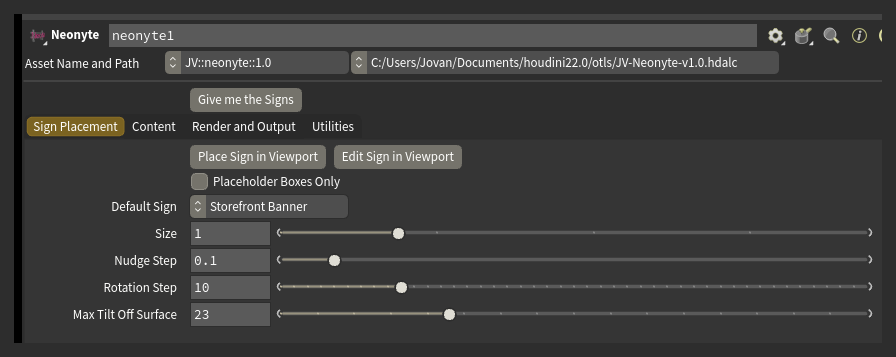
While Place Sign in Viewport is active:
- T cycles the sign type.
- F flips the sign to face the other way.
- 1-8 choose what the mouse wheel adjusts: 1 scales the whole sign, 2/3/4 rotate it, 5 pushes it off the wall, 6/7/8 scale one axis.
- Shift and Ctrl make the wheel step fine or coarse.
- Dragging with the left mouse button tilts the sign.
- E switches to the eraser.
- P picks an existing sign to move.
- B toggles Placeholder Boxes Only.
- R resets the current placement.
- Right-click opens the same options as a menu.
Edit Sign in Viewport lets you click a sign that already exists and put it back into placement mode. Each card's Edit button does the same thing for that one sign.
The eraser deletes signs: press E while placing, or use the eraser button in the Actions row on the Signs tab. Drag over the signs you want gone.
Placeholder Boxes Only (or B in the viewport) shows the boxes instead of building signs, so laying out a big street stays responsive.
Default Sign sets the type the placement tool starts with: Storefront Banner, Marquee, Blade, Vertical Tower, Square, Plaque or Rooftop. Rooftop signs get support triangles instead of standoffs, since there is no wall behind them.
Bring your own boxes
You can also wire your own placeholder boxes into the node's second input, instead of using the viewport tool. Each box needs a primitive group marking its front face. The default group name is front; change it in Utilities > Front Group.
If boxes are already in the scene without cards - for example after wiring in an existing sign subnetwork - press Rebuild List from Signs to give each one a card.
See the glow
The viewport shows each sign in its neon colour. The glow itself is only visible in a Karma render. Press Send to Solaris and render - see Rendering for the full setup.